
Canning pears is a labour of love. It is by far the most time consuming of my canning projects. I do it because we love to eat home canned pears, nothing can compare.
How many pears?
A quart jar fits about 2.5 lbs (about 1 kg) of pears. To calculate how many pounds of pears you need use the steps below. This year we canned 100 lbs of pears and it yielded 40 quarts of pears which is exactly 2.5 lbs a jar.
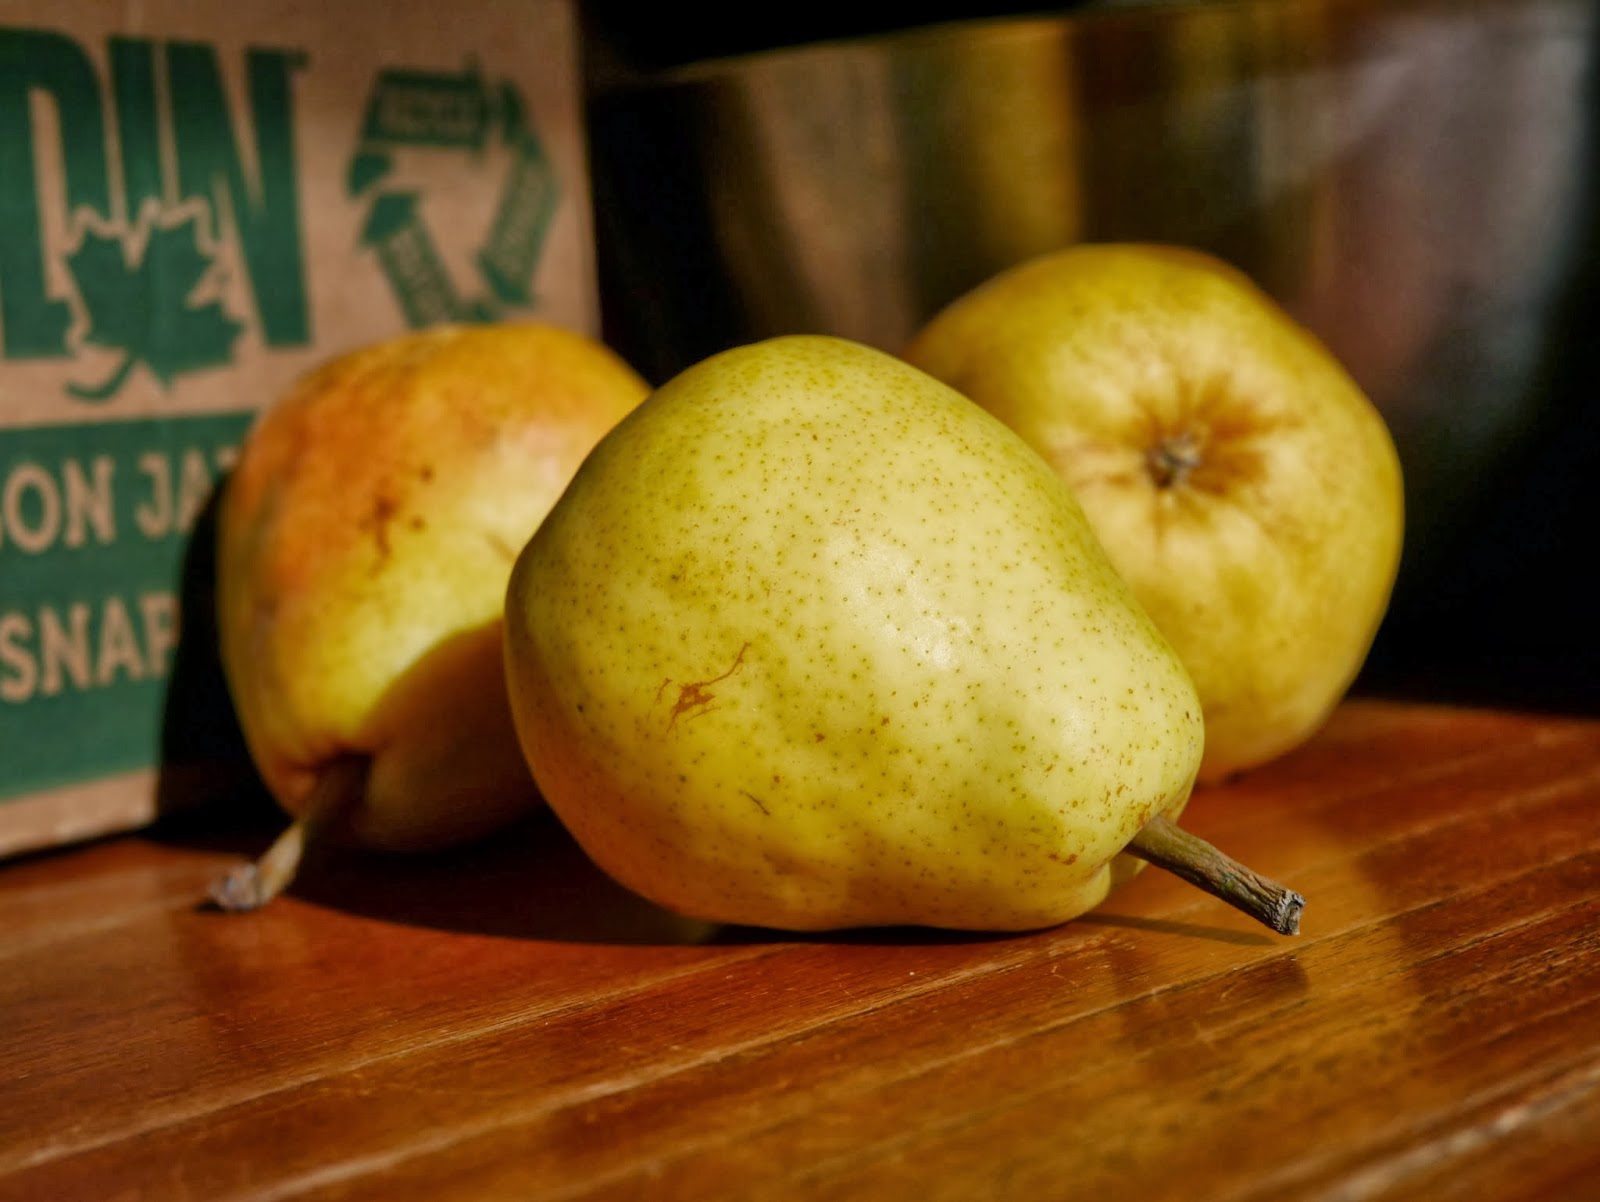
What kind of pears?
The best pear for canning is the Bartlett which is an easy to find variety. I’ve tried canning Anjou and Bosc pears but the post-processed texture wasn’t as nice. Whichever variety of pear you decide to use make sure the pears are ripe. Pears are picked unripe. To ripen pears lay them out on a towel and leave them for several days at room temperature. After a few days the skin while change from green to yellow. To know if the pear is ripe enough for canning taste one. The pear should be sweet and juicy, not crunchy. If the pears are left to ripen too long they will become mushy and canning mushy pears is no fun. Instead keep mushy pears for making pear butter or sauce.
Equipment
Quart sized jars (Tip: Use wide mouth)
Lids + Rings Jar lifter
Water bath canner
A large pot and several large bowls
Water bath canning pot + lifter
Wooden spoon
Funnel (that fits a wide mouth jar)
Paring knife + teaspoon or a melon baller
Old dish rags and dish clothes
Large propane burner + propane tank (optional but worth having)
Sugar (I use organic cane sugar)
Fruit Fresh
Setting Up
Gather all the equipment listed above and set up your work space. It’s important to have an efficient workspace flow so think about the steps that need to happen and arrange the equipment accordingly. Look through the steps below and envision your work space.
Peeling and cutting pears
Before you start peeling the pears prepare a solution of cold water and Fruit Fresh (or another antioxidant) in a large bowl or pot. I find Fruit Fresh works the best for preventing pears from going brown.

Have another large bowl nearby for the peels and cores.

Pealing and pitting pears takes time. The more pears, the more time. You can’t blanch a pear like you can a peach so each pear has to be peeled by hand using a paring knife. Start by halving the pear lengthwise.

Use the tip of a teaspoon or a melon baller and scoop out the core. Pull off the stem and cut out the blossom end.


Cut off the skin as if you were peeling an apple. Keep the pears in halves or quarter them, it’s up to you.

Pears are quite sweet so it’s best to opt for a very light syrup. Dissolve 1.25 cups sugar into 10.5 cups of water and bring to a boil. This should make enough syrup for seven quarts. If your pears are not sweet you can make a light syrup or medium syrup (ratios here). Just pick something that suits your taste.
Preparing the Jars and Lids
Because the jars will be processing for longer than 15 minutes the jars don’t need to be sterilized. Just make sure the jars are clean. Give them a quick wash in some hot soapy water, making sure to rinse off the suds. Prepare your lids according to the manufacturers directions. Tip: I use Tattler lids. These lids are BPA free and reusable. Set up your canning pot and start warming the water if using a stovetop. If you are using a propane stove don’t worry about pre-warming the water it will come to a boil fast.
Packing and Canning the Pears
Unlike peaches, pear really benefit from being hot packed. This means the pears need to be simmered in the syrup before being packed into the jars. Place pear halves or quarters in a single layer in the boiling syrup for 3 to 5 minutes.

Use a wooden spoon to pick up the pears from the syrup and slide them into the quart jars pit side down. Tip: Tap the jar onto the countertop to get the pear slices to settle into the jar. You might be able to fit an extra slice or two by doing this. Fill the jars with syrup as they filled with pear slices leaving 1/2 inch headspace.
Using a wood chopstick or wood skewer release any bubbles trapped in the jar. Top up syrup if necessary. Don’t use any metal utensils in the jar because it can weaken the glass. Tip: Pressing down on the top pear slice also releases bubbles trapped under the slices just be careful not to burn your finger when doing this.
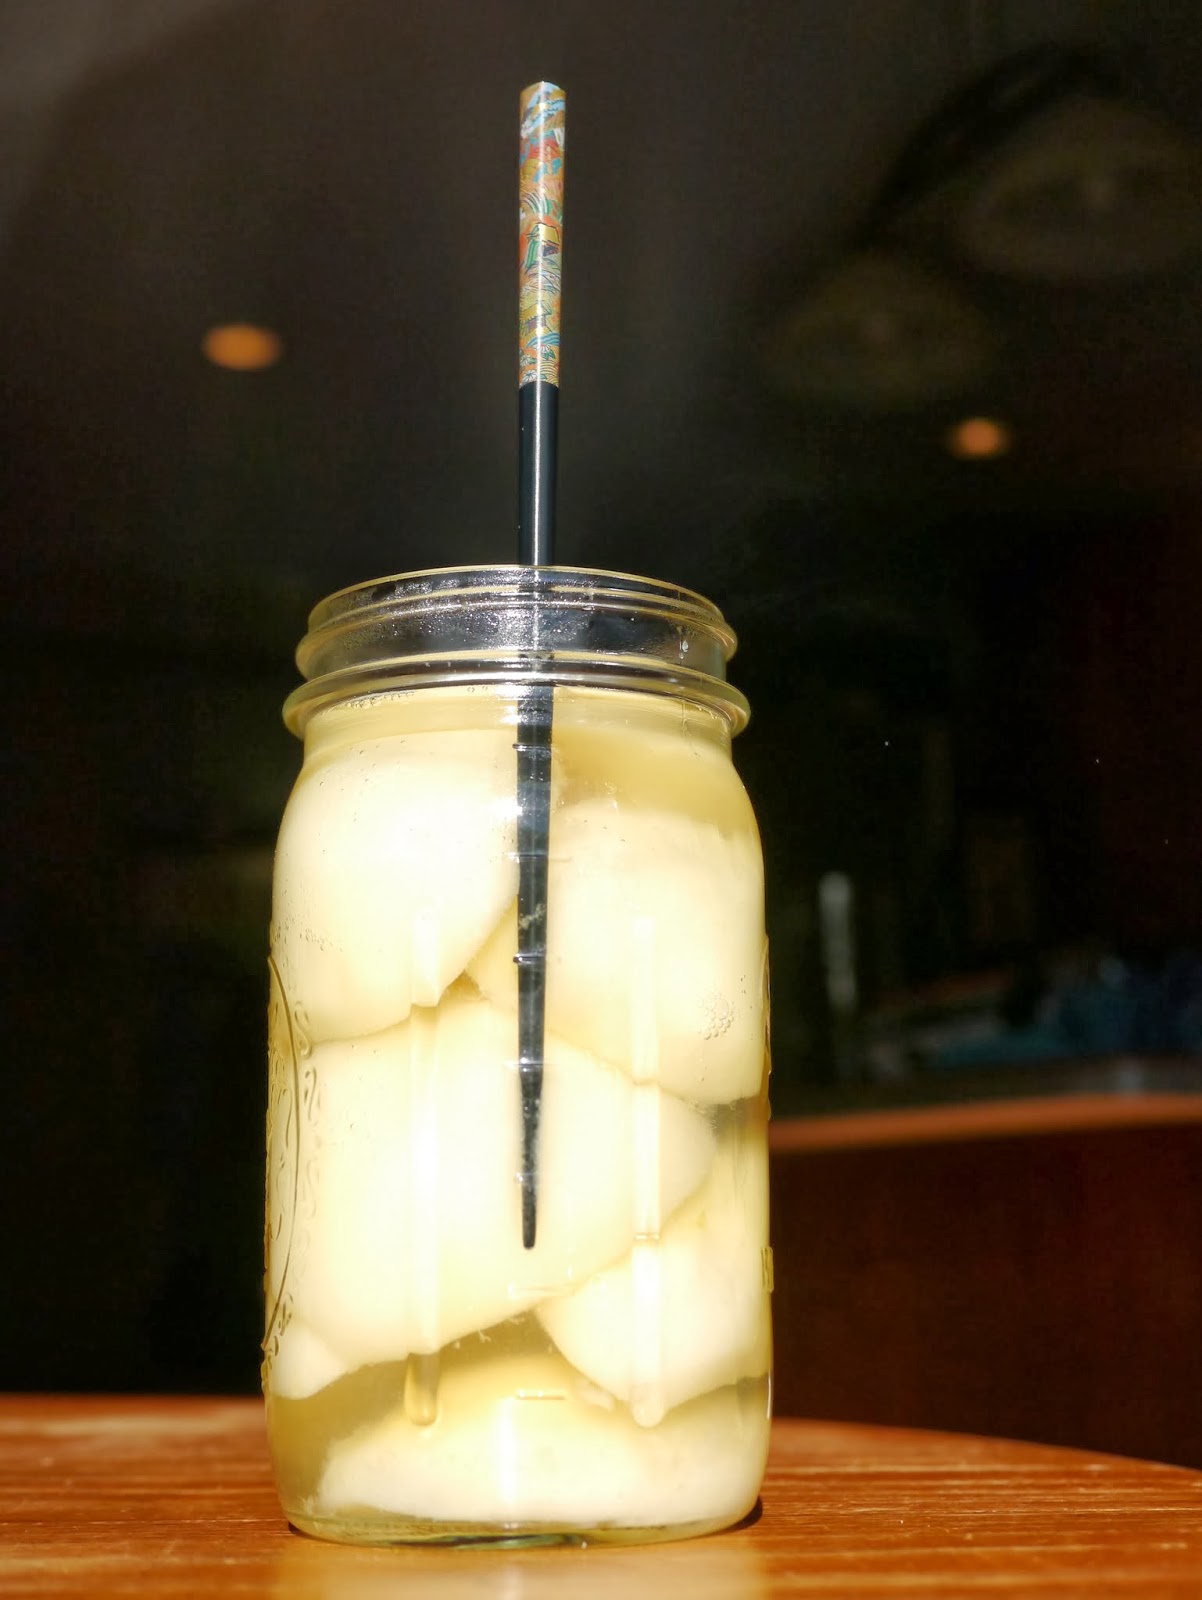
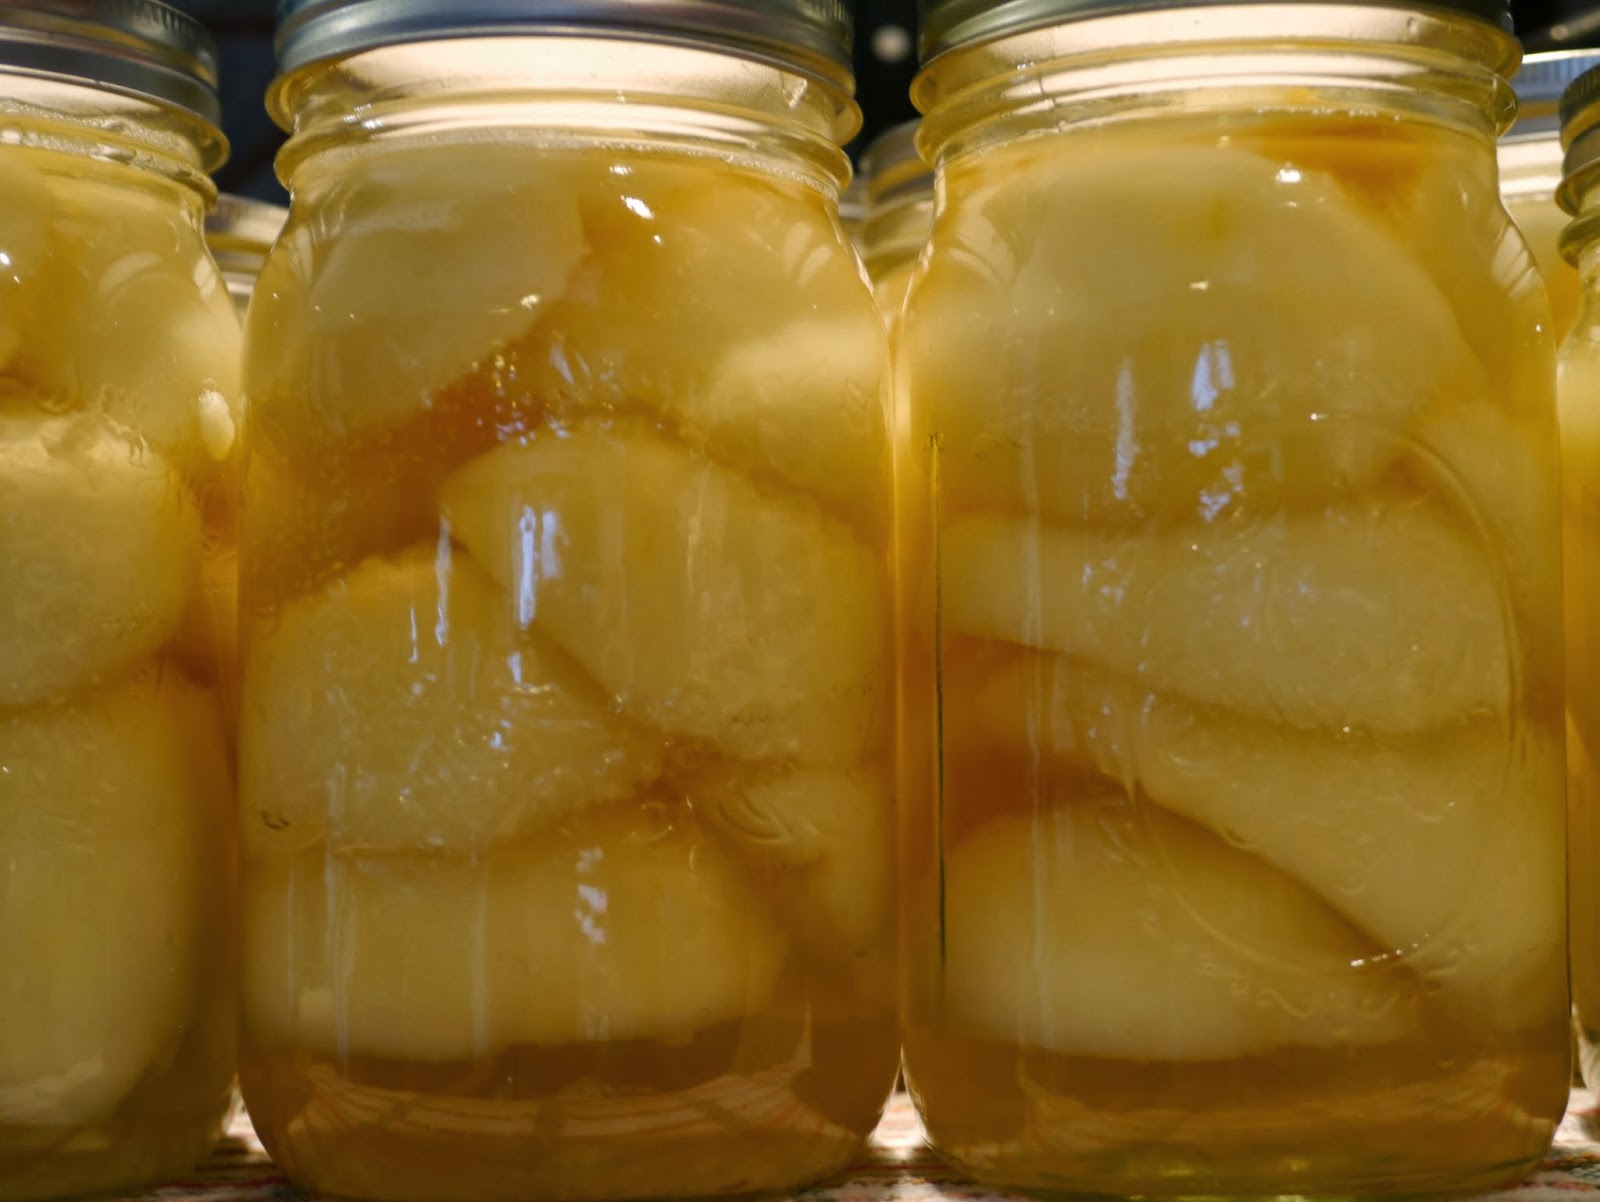
Wipe the rims of the jar and place a lid and ring onto each jar. Tighten the ring fingertip tight. You want the ring tight enough that the contents won’t escape but loose enough that air will escape creating a vaccum. Place the jars into the canning pot ensuring that the water covers the jars at least an inch over the tops. Bring the water to a rolling boil.
Process the jars for 25 minutes (or 30 minutes if your altitude is greater than 1000 ft) Tip: Using a propane burner is the best way to can a large amount of pears. It’s much faster and because the processing happens outside it keeps the house cooler. Remove the jars at the end of the processing time and allow to cool completely. Tip: If you are using Tattler lids don’t forget to tighten the rings. Do not tighten the rings if using metal lids! Refrigerate any jars that did not seal.
5 comments
What is your success rate with the tattler lids? I've heard they can be tricky and end up in a lot of unsealed jars. Is this your experience?
I tighten finger tight. Air MUST escape and that creates the vacuum necessary for the lids to seal. Some people tighten more as soon as it is removed from canner. I do have some failed seals, but I just run them again and they seal. I have noted some Tattlers have a burr on edge of lid,and those interfere with the seal, so I remove them.
I have great success with tattler lids (as good if not better than regular metal lids) with canning everything except jams. I think the smaller head space when canning jams affects the seal. Hope that helps!
Tattler lids need more headspace. If liquid touches the underside of it, it will not form a vacuum seal.
A great tip! I’ve noticed this as well.