
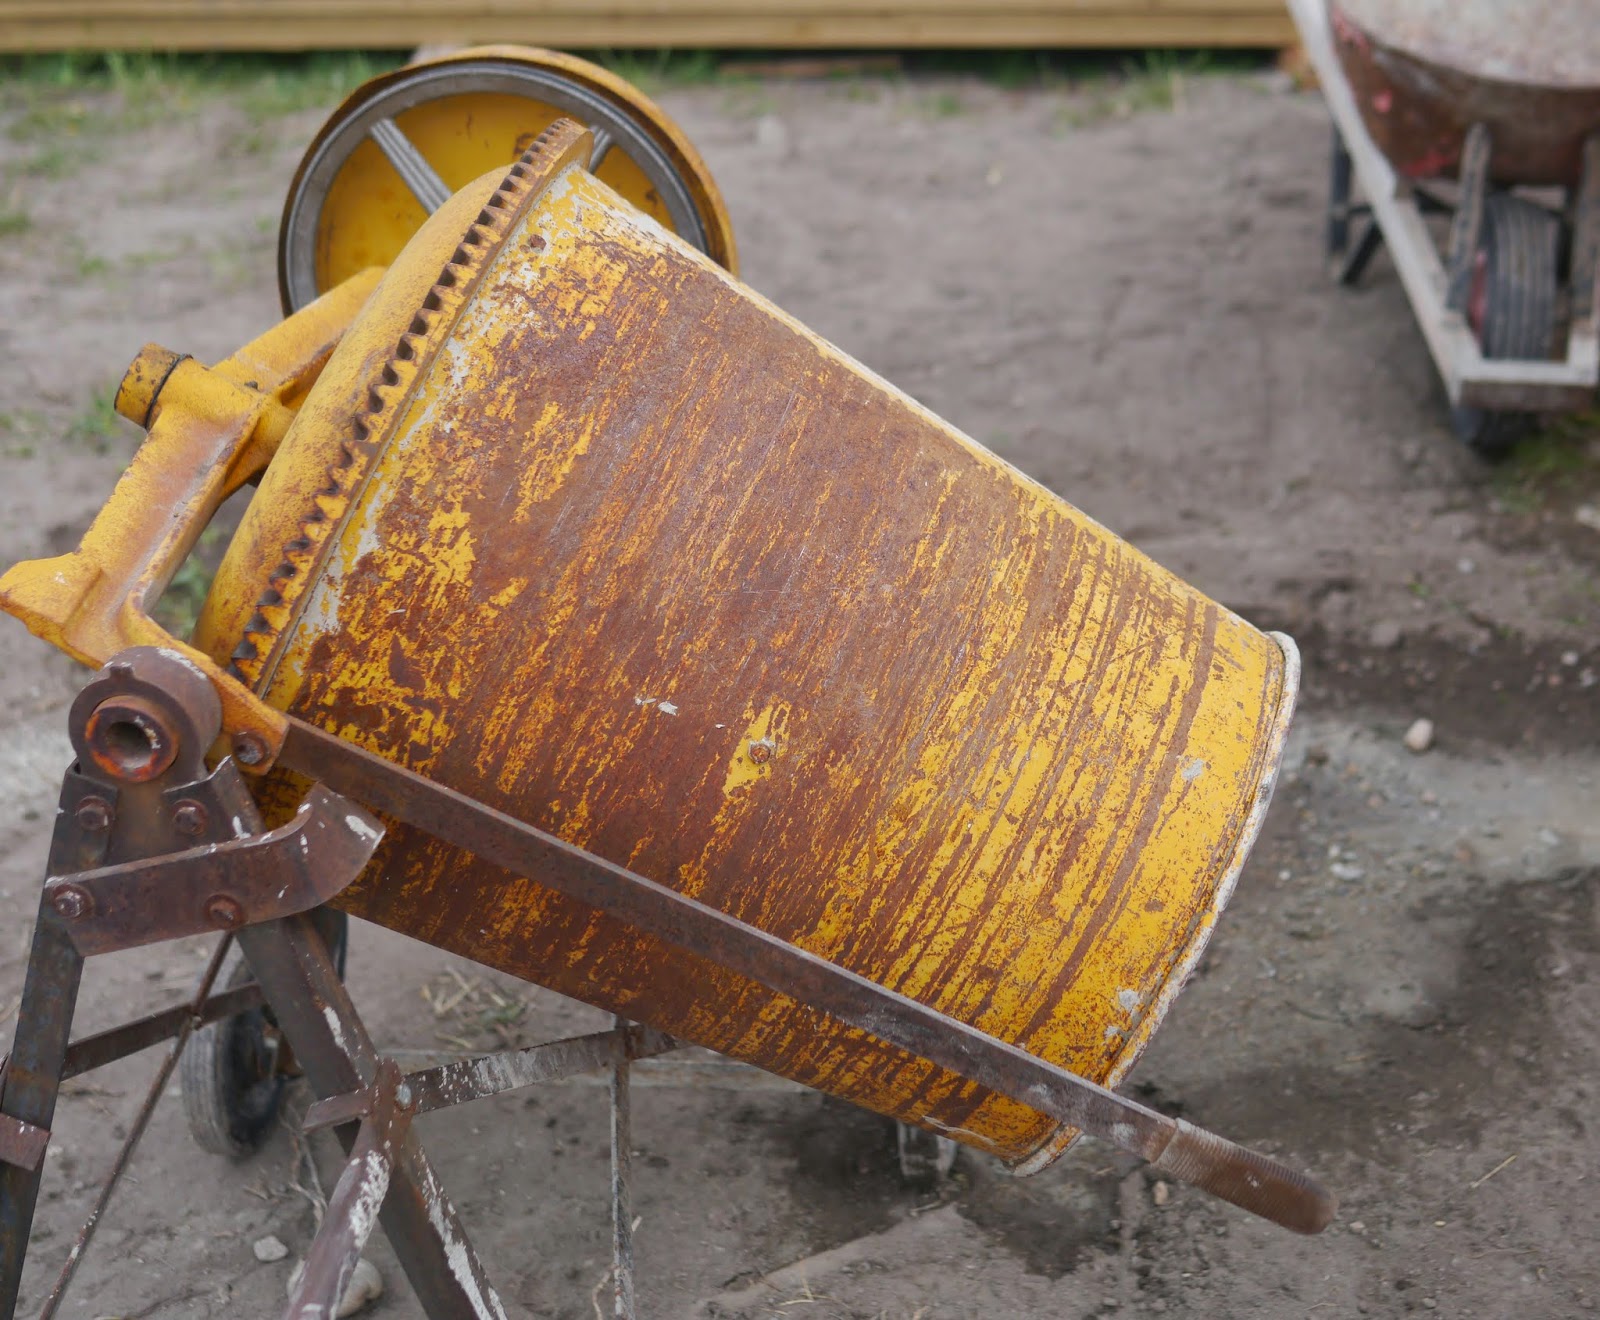


My camera’s been acting funny, randomly shutting off and stressing me out, so I didn’t capture as much of the action that I was hoping too. Our mentor started by showing the children how to mix concrete and how to handle it safely. When working with wet concrete be sure to cover your skin by wearing long pants, long sleeved shirt and gloves. Whomever is mixing the concrete should also wear a face mask.
While the concrete was being mixed by the dads, the children prepared their molds by greasing them with vegetable oil or petroleum jelly (Vaseline). There were a variety of moulds that people used such as drip trays for planter, aluminum pie plate or lasagna pans, boxes lined with thick plastic, empty 4L ice cream pails, and all types of plastic shallow dishes. The children also had some time to traded embellishments with each other. Everyone brought an assortment of things to decorate their stepping stones: glass rocks, seashells, keys, buttons, beads, rocks, bottle caps, chains, coins, sparkles and pieces of tile. For some children (like my eldest) trading what the best part.
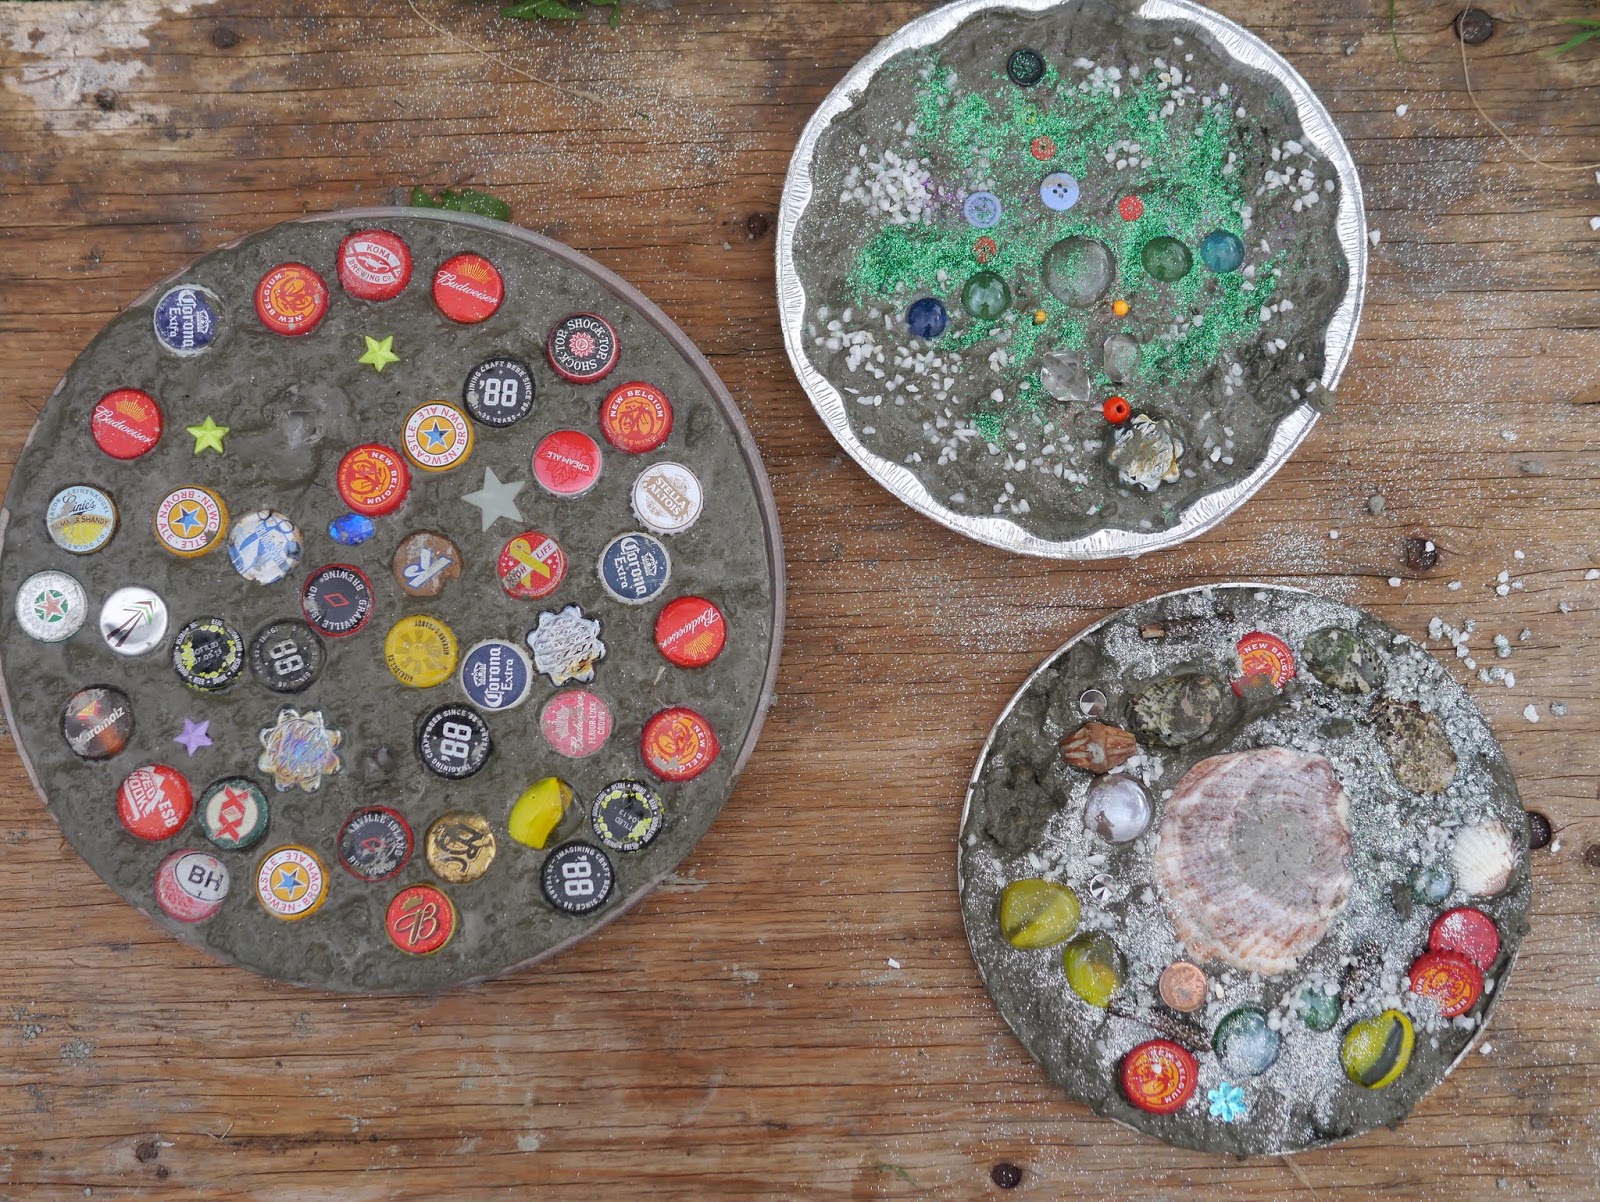
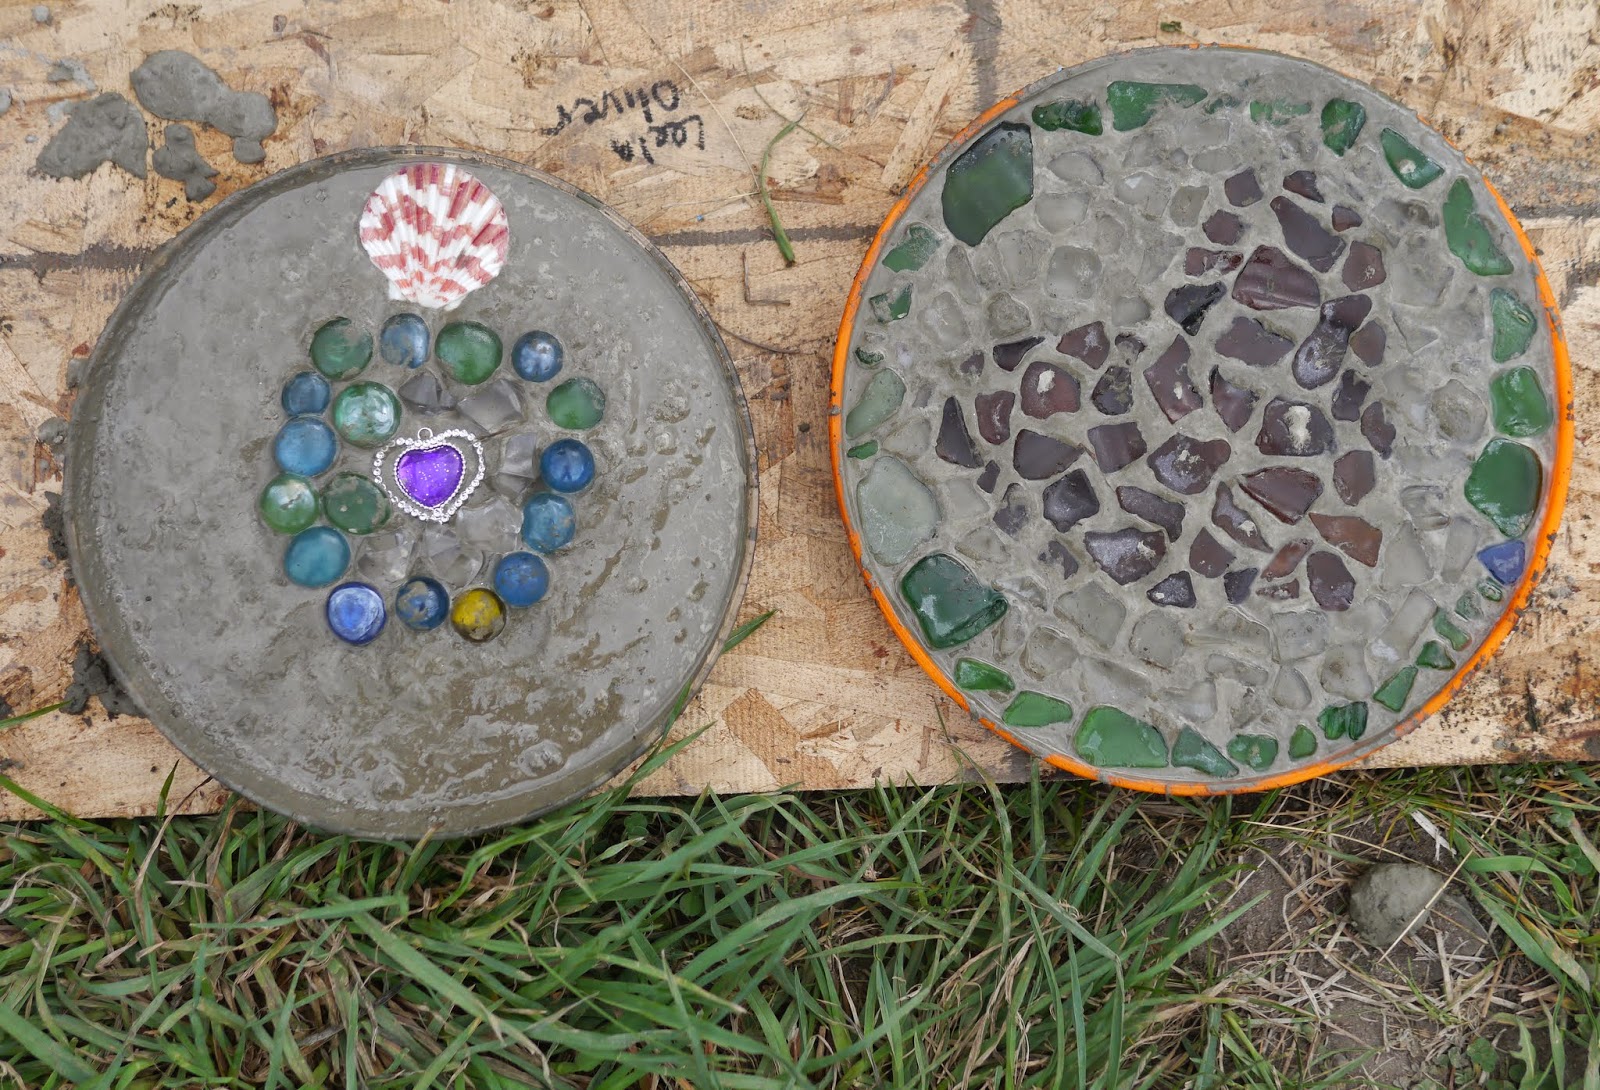
Once the concrete was ready it was scooped into the molds. A bit a jiggling and tapping loosened any trapped bubbles and allowed the concrete to settle nicely into the mould. It does help to wait 10 to 15 minutes before adding embellishments so that the concrete can become a little firm but it isn’t necessary. When placing the decorations be sure to press them into the concrete so they don’t fall out when the concrete dries.
As you can see in the pictures above the stepping stones were so creative and unique and thankfully my camera cooperated so that could capture them. They need to cure undisturbed for a couple days so we’ll have to wait until next week before we can put them in our garden.
2 comments
[…] image source […]
These look super cute. Awesome idea. I’m making some now to use up leftover cement- we’ll see how they turn out.