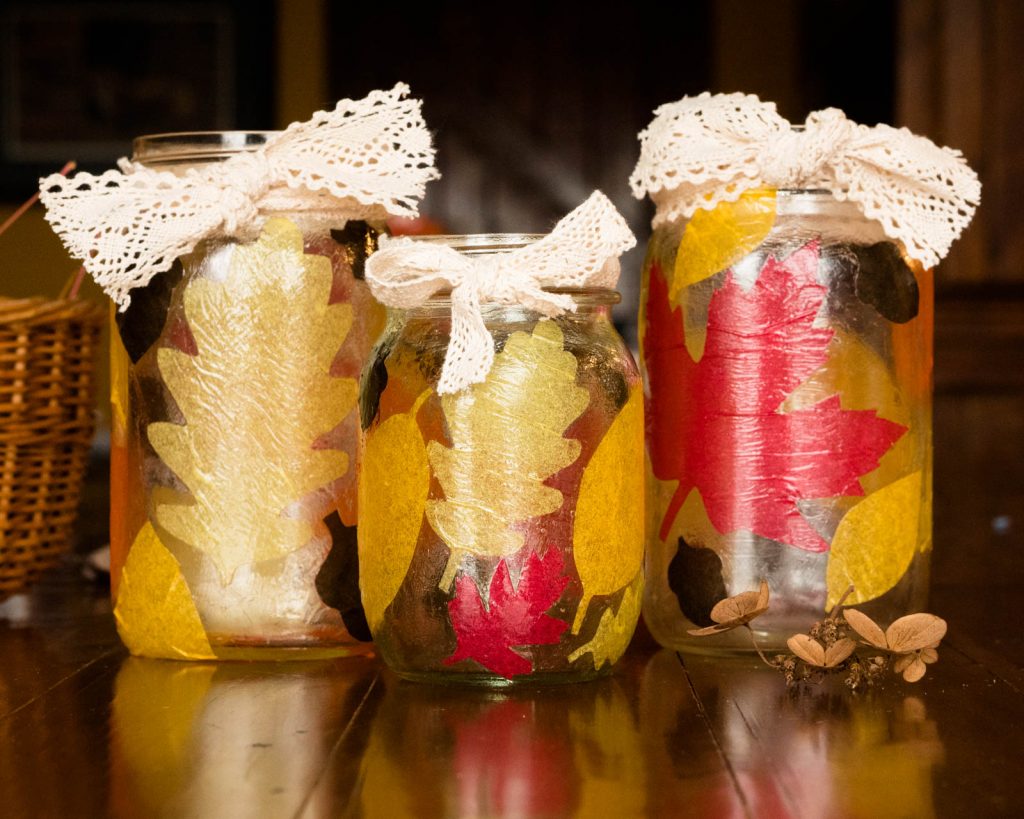
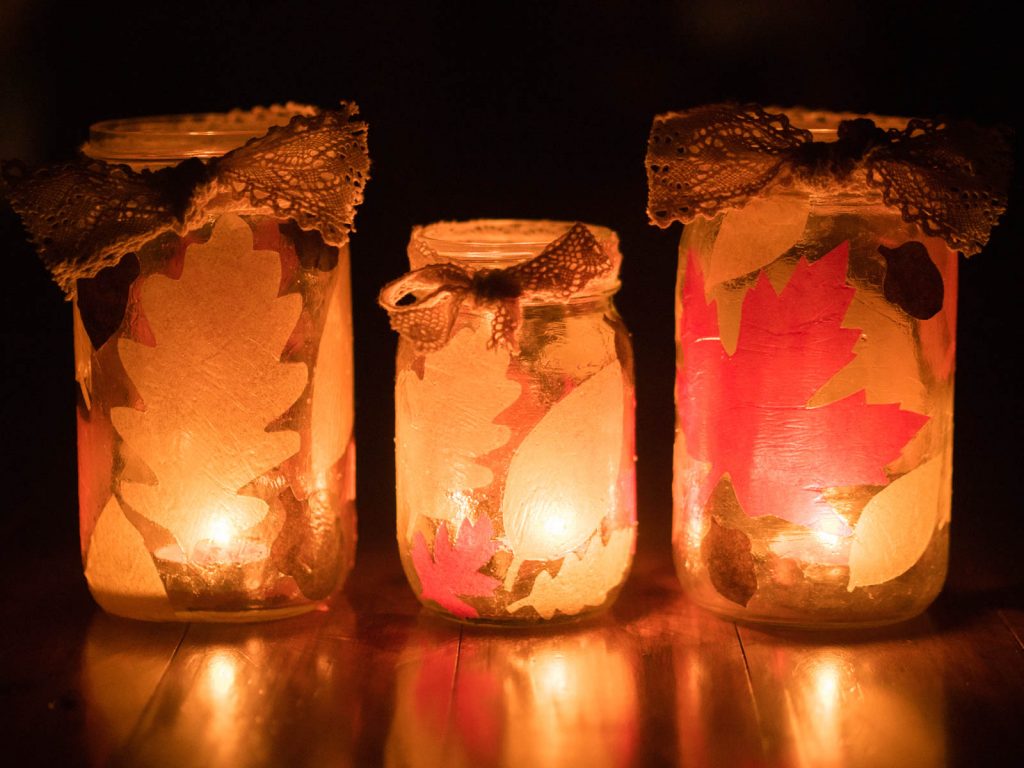
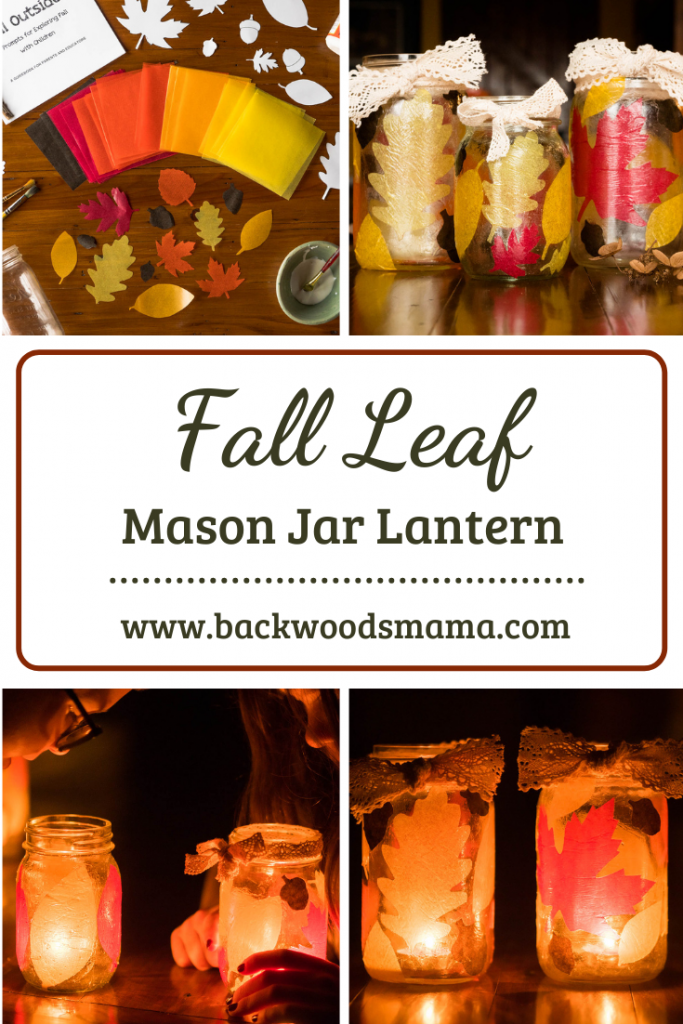
As autumn unfolds and the days get shorter, all the cozy and comforting things call my name: a cup a hot tea, a fuzzy blanket, a good book, and the soft glow of candles. Throughout the cold dark months of late autumn and winter, my kids and I love create beautiful and unique lanterns that shine light and warmth into our home. Last winter we made felted mason jar lanterns and before then balloon felt lanterns. This year we wanted to make lanterns for autumn using beautiful kite paper I had stashed away.
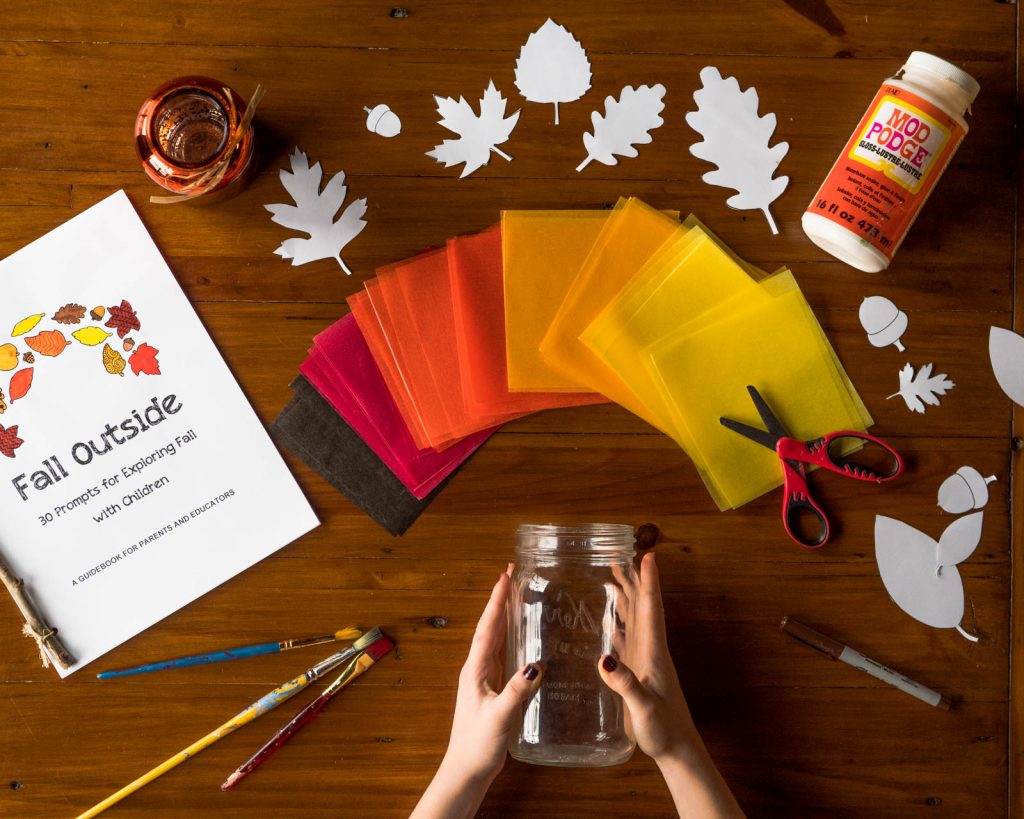
Materials
- Kite paper in autumn colours (yellow, orange, red and brown)
- Modge podge
- Mason jar (wide mouth, quart)
- Scissors
- Fine tip permanent market*
- Paintbrush
- Leaf and acorn templates
- Tealight candle
*A fine tip permanent marker won’t smudge on kite paper.
What is kite paper? Can I use tissue paper instead?
Kite paper is essentially coloured wax paper and it comes in a variety of rich colours. Kite paper is much stronger than tissue paper. Yes, you could make these lanterns with tissue paper but tissue paper is frustrating for kids to work with because it tears so easily.
How difficult is this project?
This lantern takes about 15 to 30 mins to do with a child if you have all your materials prepared in advance. Younger children might need help with cutting out leaf shapes.
Instructions
1. Start by gathering your materials and setting up a work space. Cover a surface with an old table cloth or recycled paper if you’re worried about glue drips.
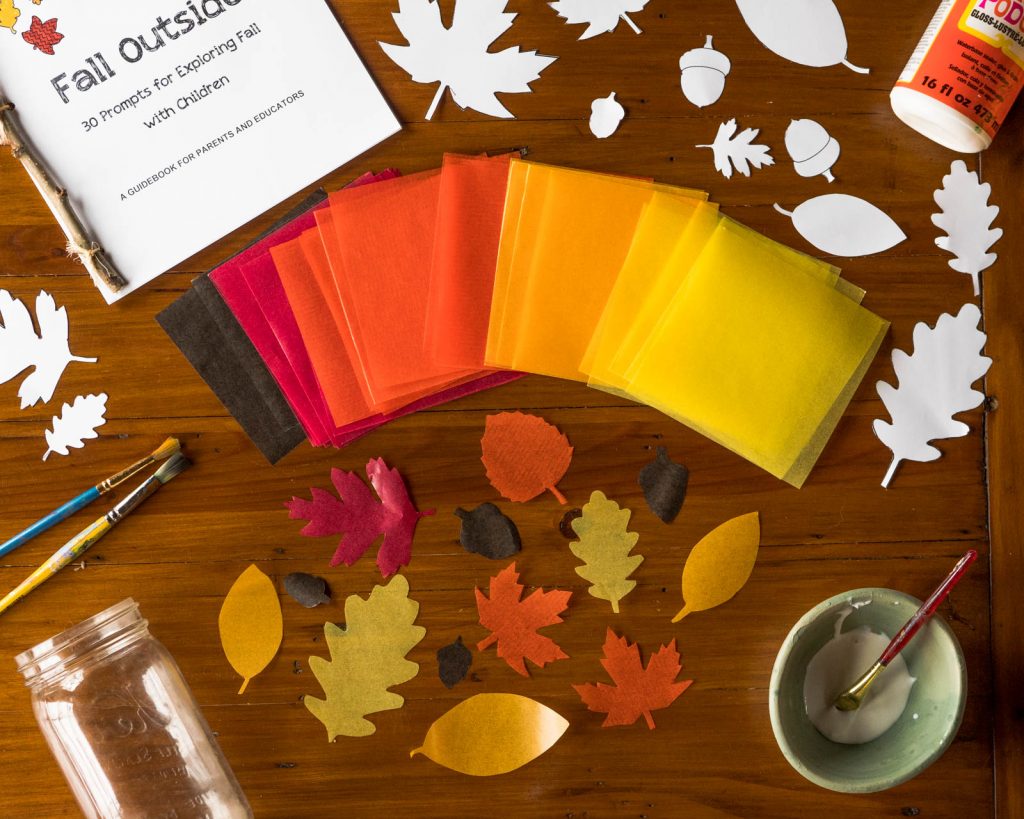
2. Find a leaf and acorn template, print them on paper and cut them out. It’s nice to have a few different sizes to choose from.
3. Trace the cut out leaf and acorn templates shapes onto the kite paper using a fine tipped permanent marker.
4. Cut the kite paper into leaf and acorn shapes using scissors.
5. Glue the kite paper shapes onto the mason jar in sections. Pick a spot to start and paint some modge podge onto the jar, gently press the cut out onto the jar and then spread more modge podge on top. Continue in this way until the jar is covered in pretty kite paper leaves and acorns.
6. Set the mason jar aside until it has dried completely.
Finishing Detail: Tie a pretty bow around the top of your jar.
Disclaimer: This page contains Amazon Affiliates links and I may earn a small commission from your purchases made through them.
